In the last post, I discussed how the need for optimization arose while I was working on the Skylines: City Generator project and how I approached coming up with a solution to solve this problem. In this post, I will take a deep dive into the optimization network and talk about the different pieces that helped me improve the performance of the project.
Tracking the camera
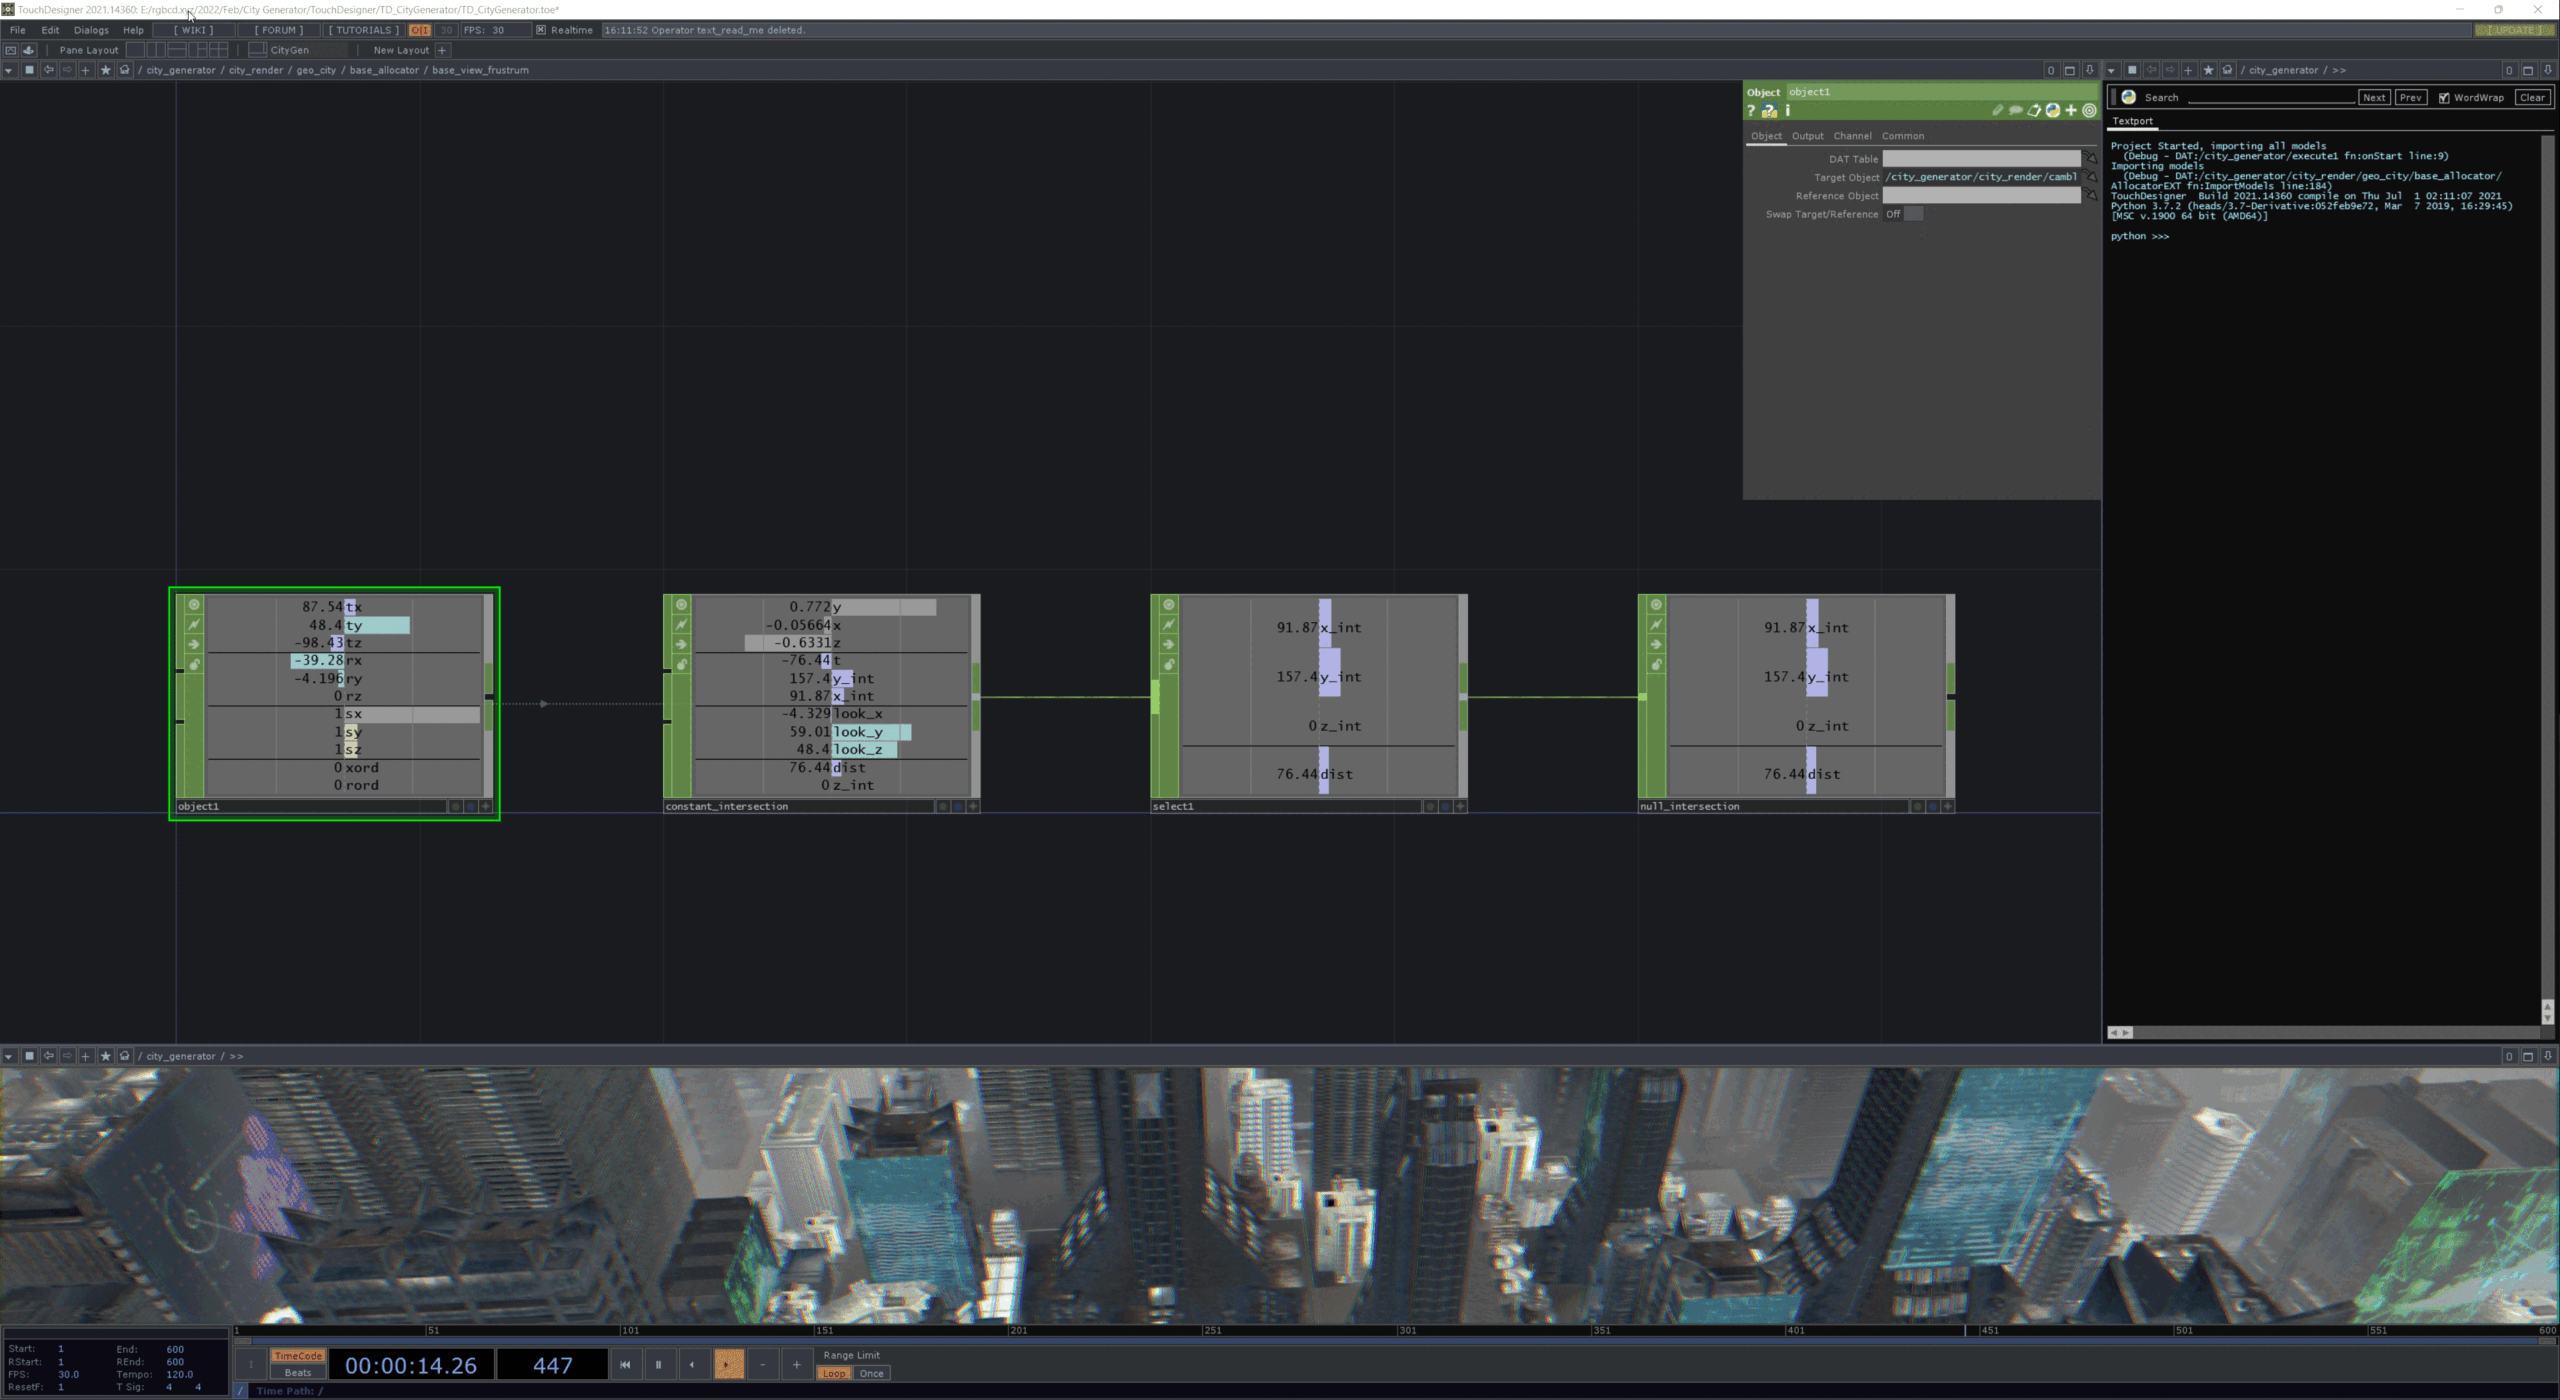
To perform culling, I needed to come up with a volume that would be used to remove geometry from the render queue. I started by tracking the camera’s transform by using the objectCHOP. Using its rotation in the x and y direction, I was able to calculate the view vector of the camera. Using this view vector, I calculated the intersection point with the grid plane where the buildings were being instanced and then used this point and the distance of the camera from this point to create the culling volume, which is a sphere like I had mentioned in my last post. Traditionally, the origin point for this culling volume would be at the camera’s position, but I decided to use the intersection point with the plane to get a slightly tighter fit with the view frustum.
Since my initial attempts at optimising the large grid with thousands of Cyberpunk building models failed to yield a significant increase in performance, I started looking at other solutions to make the scene run as smoothly as possible. I had to come up with a way to significantly reduce the amount of geometry that was being rendered at any given time. Since TouchDesigner does not implement view frustum culling, even the geometry outside the camera’s view is taken into account while rendering the scene. I needed to come up with a way of reducing the amount of the buildings that were being instanced, especially outside the camera’s view frustum.

Deleting the points
Like I had mentioned in the last blog post, since the culling optimization is a real-time operation that is actively making changes to the operators, I needed to perform it towards the end of the allocation network. I set up the network in such a way that the points are deleted just before the data is pulled for instancing, to ensure that the least possible number of operators are actively cooking at any given time.
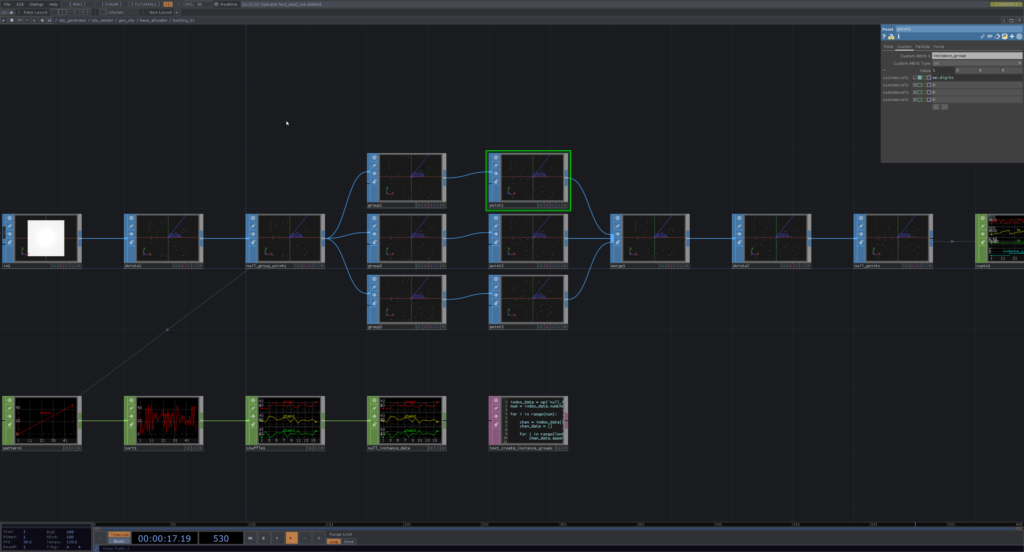
Before I could start deleting points, I needed to make sure that the points for a particular building size have been evenly distributed among the different building models that comprise that group. Using the number of points in the group and the number of models present in that building group, I subgrouped the points and assigned them a group identifier as a custom attribute using the pointSOP. I then merged these subgroups together, deleted any duplicate points and then converted this SOP data into CHOP data for further processing before we can delete the points.

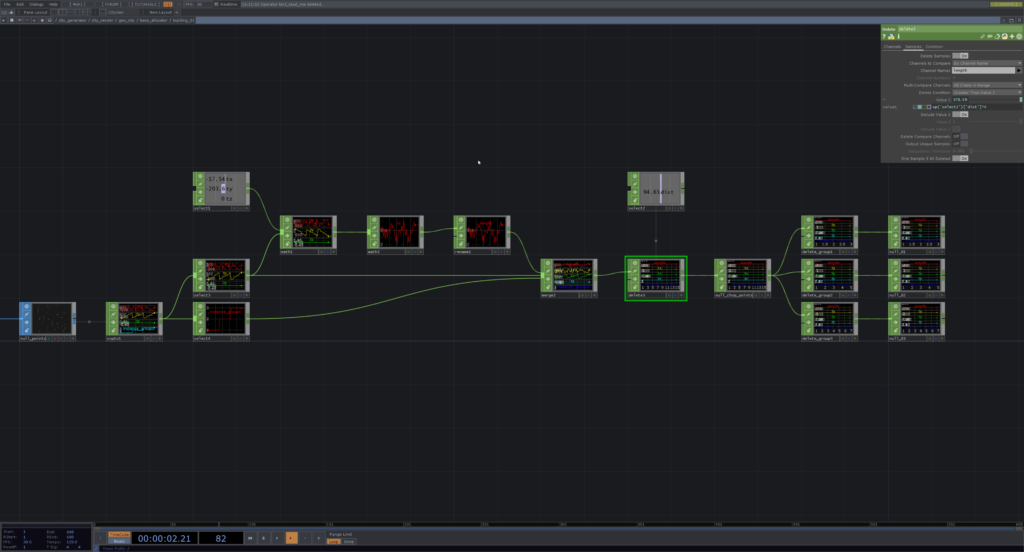
The culling process starts with the calculation of the distance of the points in the building group to the volume origin, which is the intersection point on the grid plane that I had calculated in the previous section. I used this length channel to delete point samples that were very far from the volume origin. The distance of the volume origin from the camera along with a multiplier is used to check which samples were in range, essentially working as the radius of the culling sphere for the building group. I then recreated the subgroups for the different buildings in the group which use the tx, ty and tz channels from the nullCHOP at the end of the network as instance data.

Importance of conversion
In my first attempt at the culling algorithm, I had attempted to perform all the operations in SOPs, but this seemed to have the reverse effect and brought down performance even more as now hundreds of SOPs with hundreds of points were actively cooking. The transformation of SOP data to CHOP data was key in reducing the CPU cook time and significantly increasing the performance of the project. In the final post, I will dive into the staggered asset loading algorithm that I created to optimise project startup.